
cumberland gap ham cooking instructions
Cumberland Gap Ham Cooking Instructions: A Comprehensive Guide
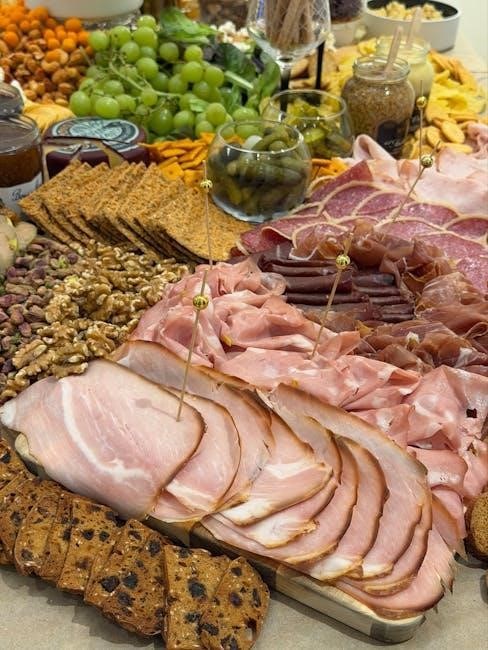
Cumberland Gap Ham offers a delightful centerpiece for gatherings, boasting a rich, smoky flavor and tender texture, perfect for holidays or special occasions.
This comprehensive guide will detail preparation, cooking methods, glazing techniques, and serving suggestions, ensuring a juicy and flavorful ham every time.
From oven baking to slow cooking and smoking, discover how to unlock the full potential of your Cumberland Gap Ham with these easy-to-follow instructions.
Understanding Cumberland Gap Ham
Cumberland Gap Ham represents a tradition of quality, crafted over generations using time-honored techniques. These hams are renowned for their exceptional taste, stemming from a commitment to premium ingredients and careful curing processes. Typically, a Cumberland Gap Ham is semi-boneless, offering a balance between ease of carving and robust flavor retention.
What sets these hams apart is the meticulous smoking process, imparting a distinctly smoky aroma and taste that permeates the entire cut of meat. The hams are fully cooked during production, meaning the primary goal when preparing one isn’t to cook it through, but rather to warm it to a safe and enjoyable serving temperature.
Understanding this pre-cooked nature is crucial for successful preparation. You’re essentially enhancing an already delicious product, focusing on moisture retention and glaze application to create a truly memorable dining experience. This makes Cumberland Gap Ham a convenient and impressive choice for any occasion.
What Makes Cumberland Gap Ham Special?
Cumberland Gap Ham distinguishes itself through a unique combination of factors, beginning with the careful selection of premium cuts. The semi-boneless structure strikes an ideal balance – providing substantial flavor while simplifying carving for effortless serving. Beyond the cut itself, the extended smoking process is paramount.
This isn’t a quick smoke; Cumberland Gap utilizes traditional smokehouses, infusing the ham with a deep, rich, and authentically smoky flavor profile. The curing process also plays a vital role, enhancing both the taste and the ham’s ability to retain moisture during warming.
The result is a ham that’s consistently juicy and tender, requiring minimal effort to achieve gourmet-quality results. It’s a centerpiece that elevates any meal, offering a “wow” factor without demanding extensive culinary expertise. The combination of convenience and exceptional taste is what truly sets Cumberland Gap Ham apart.
Types of Cumberland Gap Ham Available
Cumberland Gap primarily focuses on delivering a consistently high-quality experience, with the semi-boneless ham being their signature offering. This cut provides an excellent balance between flavor retention from the bone and ease of carving, making it ideal for both large gatherings and smaller family meals.
While variations in size are common – ranging from smaller portions suitable for intimate dinners to larger hams designed to feed a crowd – the core product remains the expertly cured and smoked semi-boneless variety. You may occasionally find options that are “partially internally trimmed,” indicating a specific level of bone and fat removal during processing.
Currently, Cumberland Gap doesn’t widely advertise fully-boned or bone-in hams, concentrating their expertise on perfecting the semi-boneless style. This focused approach ensures that every ham meets their stringent standards for flavor, tenderness, and overall quality, providing customers with a reliably delicious product.
Preparing Your Cumberland Gap Ham for Cooking
Proper preparation is key to a succulent ham! Begin by assessing if your Cumberland Gap Ham is frozen, and then determine if it’s pre-cooked before glazing.
These initial steps ensure optimal cooking and a beautifully flavored, tender result, maximizing the enjoyment of your holiday ham.
Thawing a Frozen Cumberland Gap Ham
Safely thawing a frozen Cumberland Gap Ham is crucial for even cooking and optimal flavor. The recommended method is refrigerator thawing, allowing ample time for a complete thaw.
Plan approximately 4-6 hours of thawing time for every 5 pounds of ham. Place the frozen ham, still in its original packaging, on a tray or in a large container to catch any drips.
Ensure the refrigerator temperature remains consistently below 40°F (4°C) throughout the thawing process. For a smaller ham (under 10 pounds), this may take a day or two.
Avoid thawing at room temperature, as this can promote bacterial growth. If you’re short on time, you can thaw the ham in cold water, changing the water every 30 minutes, but this requires constant attention.
Once thawed, the ham should be cooked within 1-2 days for best quality and safety. A fully thawed ham will feel pliable, not icy.
Checking for Pre-Cooking Status
Determining if your Cumberland Gap Ham is pre-cooked is essential, as it dictates the necessary cooking approach. Most Cumberland Gap Hams are fully cooked, requiring only reheating to a safe internal temperature.
Carefully examine the packaging; it will clearly state “fully cooked,” “pre-cooked,” or “cook before eating.” If the packaging indicates it’s pre-cooked, you’re primarily focusing on warming it through.
Even if labeled pre-cooked, always verify with a meat thermometer. A fully cooked ham should reach an internal temperature of 140°F (60°C) for safe consumption.
If the packaging doesn’t explicitly state pre-cooked, treat the ham as if it requires full cooking, ensuring it reaches an internal temperature of 165°F (74°C).
Remember, LGCM Cured Smoked Hams are already fully cooked, simplifying the preparation process and guaranteeing a delicious result with minimal effort.
Preparing the Glaze: Brown Sugar & Beyond
A glaze elevates a Cumberland Gap Ham, adding a delightful caramelized crust and complementary flavors. While brown sugar is a classic base, numerous variations exist to suit your palate.
A simple brown sugar glaze can be made by combining brown sugar with a touch of Dijon mustard, pineapple juice, or even a splash of bourbon for depth.
For a tangy twist, consider incorporating orange juice, apple cider vinegar, or a hint of maple syrup. Experiment with spices like cloves, cinnamon, or ginger to enhance the aroma.
The goal is a glaze that balances sweetness, acidity, and spice, creating a harmonious contrast to the ham’s saltiness.
Remember, a Brown Sugar-Glazed Ham boasts a crispy, caramelized glaze, making it a truly special centerpiece for any holiday meal, without a costly price tag!
Cooking Methods for Cumberland Gap Ham
Cumberland Gap Ham offers versatile cooking options, including traditional oven baking, slow cooking for tenderness, and smoker cooking to amplify its naturally smoky flavor.
Each method yields a uniquely delicious result, catering to different preferences and time constraints for a perfect ham.
Oven Baking: The Traditional Approach
Oven baking remains the most popular and straightforward method for cooking a Cumberland Gap Ham, delivering consistently delicious results. This technique is ideal for achieving a beautifully browned exterior and a moist, tender interior.
Begin by preheating your oven to a moderate temperature, typically around 325°F (160°C). Place the ham, cut-side down, in a roasting pan with about ½ inch of water to maintain moisture during cooking;
Covering the ham with foil for the initial cooking period helps prevent it from drying out. Basting frequently with pan juices or a flavorful glaze, especially during the last hour, is crucial for a juicy and flavorful outcome.
Remember, Cumberland Gap Hams are often pre-cooked, so the goal is to reheat and enhance the flavor, not to cook it through. Consistent monitoring of the internal temperature is key to avoiding overcooking.
Slow Cooking: For Maximum Tenderness
Slow cooking is an exceptional method for transforming a Cumberland Gap Ham into an incredibly tender and succulent masterpiece. This low-and-slow approach allows the flavors to meld beautifully and breaks down the connective tissues, resulting in a remarkably moist texture.
Place the ham in a slow cooker, adding approximately one cup of liquid – apple juice, pineapple juice, or even water – to the bottom. This creates a steamy environment that keeps the ham incredibly moist throughout the cooking process.
Cook on low for 6-8 hours, or on high for 3-4 hours, depending on the size of your ham. While a glaze isn’t strictly necessary, applying one during the last hour of cooking adds a delightful caramelized sweetness.
The extended cooking time ensures the ham is heated through and infused with flavor, making it a perfect choice for a relaxed and flavorful meal.
Smoker Cooking: Enhancing the Smoky Flavor
Smoker cooking elevates a Cumberland Gap Ham to a whole new level of flavor, intensifying its naturally smoky profile with an additional layer of wood-fired goodness. This method is ideal for those who appreciate a robust, deeply savory taste.
Prepare your smoker to maintain a temperature of around 225-250°F (107-121°C). Use your preferred wood chips – hickory, applewood, or cherrywood all complement ham beautifully. Place the ham directly on the smoker rack.
Smoke for approximately 3-4 hours, or until the internal temperature reaches 140°F (60°C). Basting with a glaze during the last hour of smoking adds a sweet and sticky finish.
The low and slow smoking process ensures the ham remains moist and tender while absorbing the delicious smoky aromas, creating a truly unforgettable culinary experience.
Detailed Oven Baking Instructions
Oven baking is a classic method for cooking Cumberland Gap Ham, delivering a consistently juicy and flavorful result with minimal effort and maximum convenience.
This detailed guide provides step-by-step instructions, covering preheating, basting, and temperature monitoring, ensuring a perfectly cooked ham every time.
Follow these simple techniques to create a stunning centerpiece for your next holiday meal or special gathering, guaranteed to impress your guests.
Preheating and Initial Preparation
Preheating your oven to 325°F (160°C) is the crucial first step for optimal Cumberland Gap Ham baking. Ensure accurate temperature for even cooking and a beautifully caramelized glaze. Before placing the ham in the oven, prepare the roasting pan by lining it with foil for easier cleanup, and adding about one inch of water or apple cider to the bottom.
This liquid creates steam, helping to maintain moisture throughout the cooking process, preventing the ham from drying out. Place the ham cut-side down in the pan. Covering the ham loosely with foil during the initial baking phase is also recommended. This further traps moisture and promotes tenderness.
The initial covered baking period typically lasts for approximately 10-15 minutes per pound, but always refer to the specific instructions included with your Cumberland Gap Ham for precise timing. Proper preparation sets the stage for a juicy, flavorful final product!
Basting Techniques for a Juicy Ham
Basting is essential for maintaining a moist and flavorful Cumberland Gap Ham throughout the baking process. Begin basting approximately halfway through the cooking time, typically after the initial foil-covered period. Use the pan juices, melted butter, or your chosen glaze for basting.
Apply the basting liquid generously over the entire surface of the ham, ensuring even coverage. Repeat the basting process every 20-30 minutes for the remainder of the cooking time. This continuous application of moisture prevents the ham from drying out and enhances its overall flavor profile.
For an extra layer of flavor, consider incorporating ingredients like brown sugar, honey, or fruit juices into your basting liquid. Remember, a well-basted ham is a juicy ham! Consistent basting is key to achieving a tender and succulent result, making your Cumberland Gap Ham truly exceptional.
Internal Temperature Monitoring
Accurate temperature monitoring is crucial when cooking a Cumberland Gap Ham, ensuring it’s heated through without becoming dry. Since most hams are pre-cooked, you aren’t aiming for a high final temperature, but rather to warm it to a safe and palatable level.
Insert a meat thermometer into the thickest part of the ham, avoiding the bone. The USDA recommends reheating ham to an internal temperature of 140°F (60°C). Begin checking the temperature during the last hour of cooking.
Consistent monitoring prevents overcooking, which can lead to a dry and less flavorful ham. A digital meat thermometer provides the most accurate readings. Remember to allow for carryover cooking; the temperature will continue to rise slightly after removing the ham from the oven.
Glazing Your Cumberland Gap Ham
Glazing elevates your Cumberland Gap Ham, creating a beautiful caramelized crust and enhancing its savory-sweet flavor profile with delightful tanginess.
Applying the glaze during the final stages of cooking ensures a sticky, flavorful coating that complements the smoky ham perfectly.
Explore various glaze recipes, focusing on brown sugar for a classic, irresistible finish that will impress your guests and delight your palate.
When to Apply the Glaze
Timing is crucial when it comes to glazing your Cumberland Gap Ham. Applying the glaze too early can result in burning, while waiting too long might not allow it to caramelize properly. Generally, the ideal time to begin glazing is during the last 30-45 minutes of cooking.
For the first application, brush a generous layer of glaze over the entire ham surface. This initial coat will begin to set and create a base for subsequent layers. Then, reapply the glaze every 10-15 minutes, building up a rich, glossy finish.
This layering technique ensures a beautifully caramelized and flavorful crust. Keep a close eye on the ham during the final stages, adjusting the oven temperature if needed to prevent excessive browning. Remember, a golden-brown, slightly sticky glaze is the goal!
Consistent basting with the glaze during this period will maximize flavor and create a truly memorable Cumberland Gap Ham.
Glaze Application Methods
Several methods ensure even and effective glaze distribution on your Cumberland Gap Ham. The most common is using a pastry brush, allowing for precise application and control. Apply in long, even strokes, covering the entire surface. For a deeper penetration of flavor, consider a silicone brush, which is heat-resistant and easy to clean.
Alternatively, you can spoon the glaze over the ham, ensuring it coats every nook and cranny. This method is particularly useful for reaching textured areas. Another technique involves placing the ham on a wire rack set over a baking sheet, allowing excess glaze to drip and create a beautiful sheen.
Regardless of the method, remember to apply the glaze in multiple layers, as described previously, for optimal caramelization and flavor. Consistent application is key to a stunning, delicious Cumberland Gap Ham.
Popular Glaze Recipes (Brown Sugar Focus)
Brown sugar forms the foundation of many classic Cumberland Gap Ham glazes. A simple yet effective recipe combines 1 cup packed brown sugar with ½ cup pineapple juice and a dash of ground cloves. For a richer flavor, add 2 tablespoons of Dijon mustard and ¼ cup of honey.
Another popular variation features 1 ½ cups brown sugar, ¾ cup orange juice, and 1 tablespoon of apple cider vinegar. This creates a tangy-sweet glaze that complements the ham’s saltiness. A spicy kick can be achieved by incorporating a pinch of cayenne pepper or a tablespoon of horseradish.
Experiment with additions like maple syrup, bourbon, or even cherry preserves to personalize your glaze. Remember to simmer the glaze briefly to allow the flavors to meld before applying it to your ham;
Serving and Storage
Allowing the ham to rest before carving ensures juicy slices, while proper storage maintains freshness. Enjoy leftovers within a week, refrigerated, or frozen for longer preservation.
Carving techniques vary, but a sharp knife and attention to the bone structure yield optimal results. Savor the flavors of your Cumberland Gap Ham!
Resting the Ham Before Carving
Resting your Cumberland Gap Ham after cooking is a crucial, often overlooked, step towards achieving maximum juiciness and tenderness. Think of it as allowing the ham to “re-absorb” all those flavorful juices that have been released during the cooking process.
Without this resting period, those precious juices will simply run out when you begin to carve, resulting in a drier, less flavorful ham. A general guideline is to let the ham rest for at least 20-30 minutes, or even longer for larger hams – approximately 15 minutes per pound is a good rule of thumb.
Cover the ham loosely with foil during this time to maintain warmth while still allowing steam to escape. This prevents the crust from becoming soggy. Don’t skip this step; it truly makes a difference in the final outcome, transforming a good ham into an exceptional one!
Patience is key – a well-rested Cumberland Gap Ham will reward you with incredibly tender and succulent slices that your family and guests will rave about.
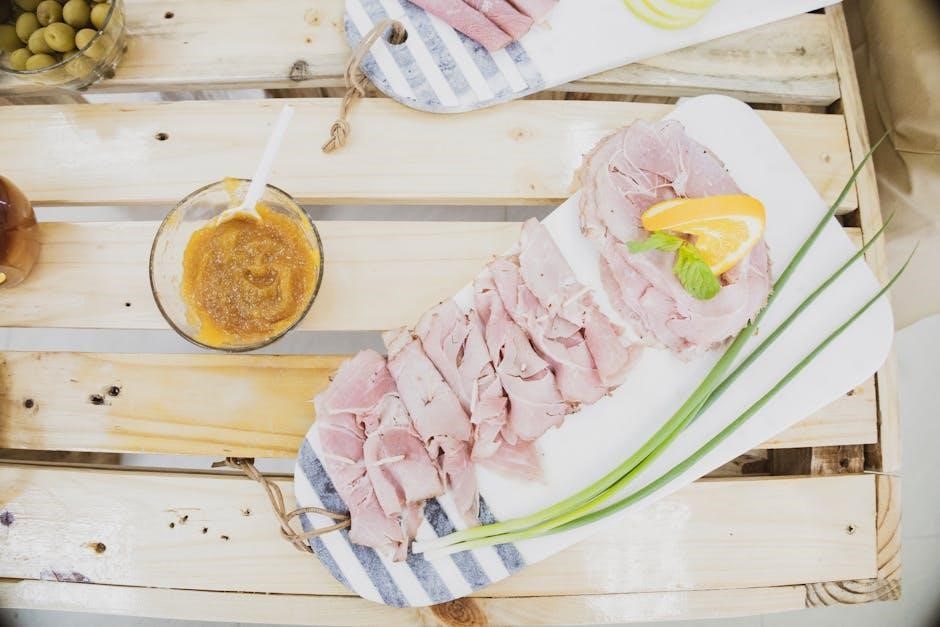
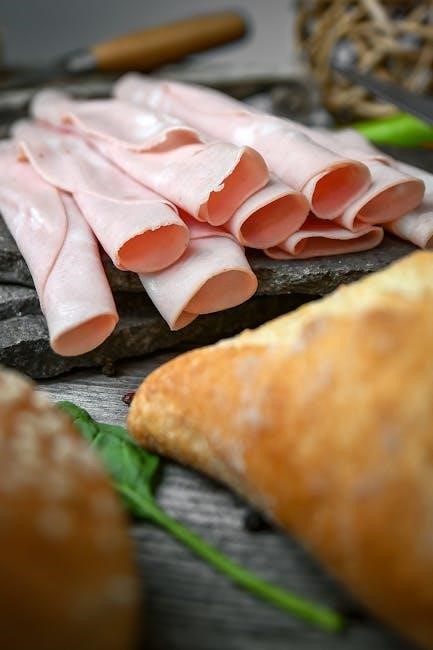
Carving Techniques for Cumberland Gap Ham
Carving a Cumberland Gap Ham, especially a semi-boneless variety, requires a sharp carving knife and a bit of technique to ensure beautiful, even slices. Begin by identifying the grain of the ham – you want to slice against the grain for maximum tenderness.
Start by slicing down along the bone, creating thin, even slices. For a semi-boneless ham, you’ll likely have a larger, flatter surface to work with, making it easier to achieve consistent thickness. Angle your knife slightly to follow the natural curve of the ham.
If you encounter the bone, simply run your knife along it to separate the slices. Avoid sawing motions, as this can tear the meat. Present the slices artfully on a platter, and remember that presentation enhances the dining experience!
Practice makes perfect, so don’t be discouraged if your first few slices aren’t flawless. A beautifully carved Cumberland Gap Ham is a testament to your culinary skills.
Storing Leftover Cumberland Gap Ham
Properly storing leftover Cumberland Gap Ham is crucial for maintaining its quality and preventing foodborne illness. Within two hours of cooking, remove the ham from the bone and store it in an airtight container or tightly wrapped in plastic wrap.
Refrigerated ham will stay fresh for approximately 3-4 days. For longer storage, consider freezing. Wrap the ham tightly in freezer-safe plastic wrap, then place it in a freezer bag, removing as much air as possible.
Frozen ham can maintain good quality for up to 2-3 months. When reheating, use a low temperature to prevent drying out. Remember to always reheat ham to an internal temperature of 140°F (60°C).
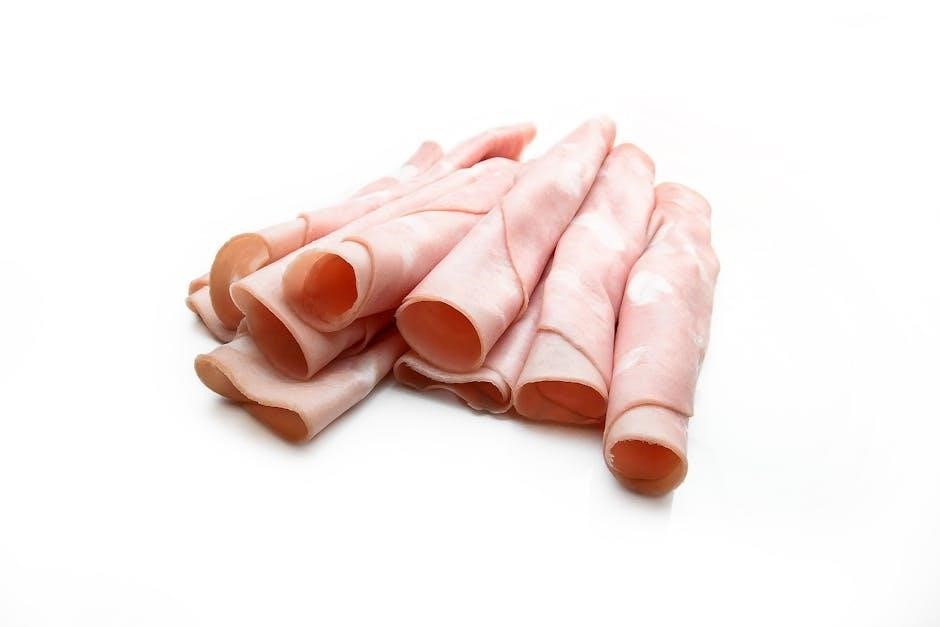
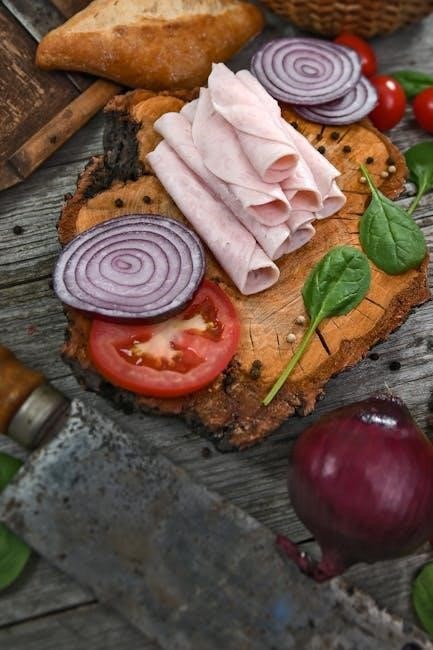
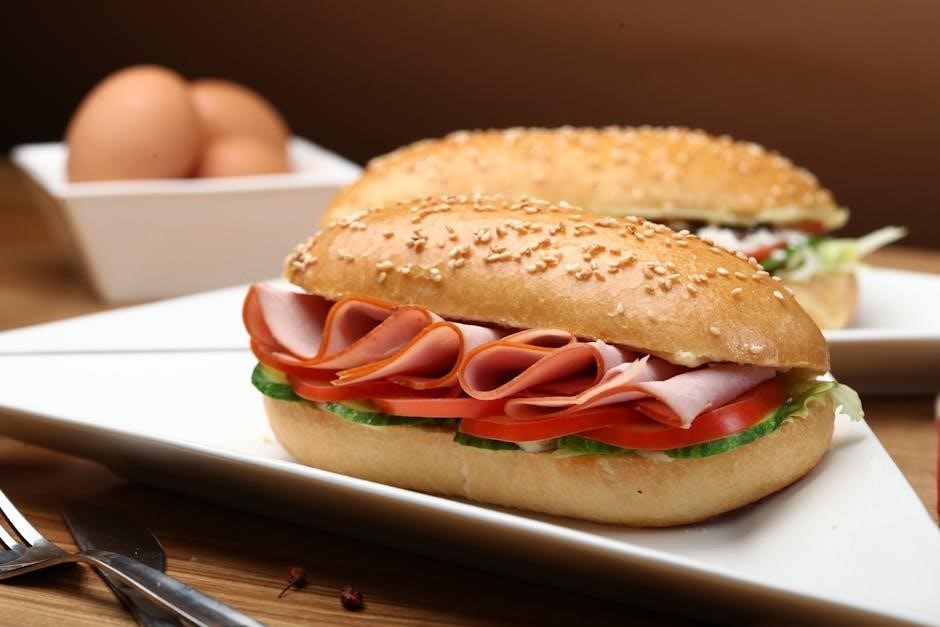
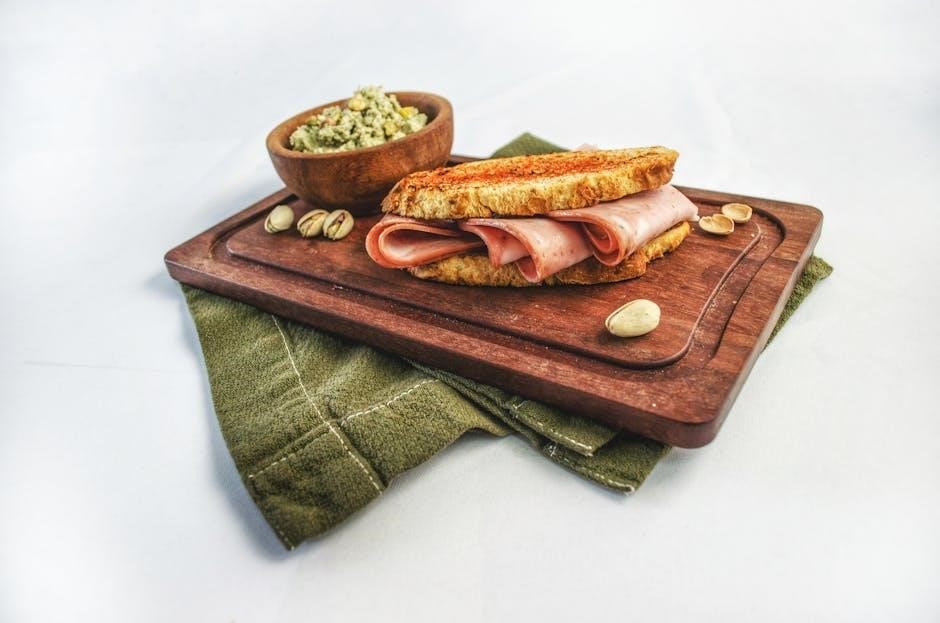
Leftover Cumberland Gap Ham is incredibly versatile – enjoy it in sandwiches, soups, omelets, or as a flavorful addition to casseroles.